Mikrotik: Setup SSTP Server for Windows 10
I wrote this a few years back, I've been told there are some innacurate details on it so I'm working on updating it... I'm leaving the oringal article as is for now so be sure to use your own knowledge on some tipics related to certificates.
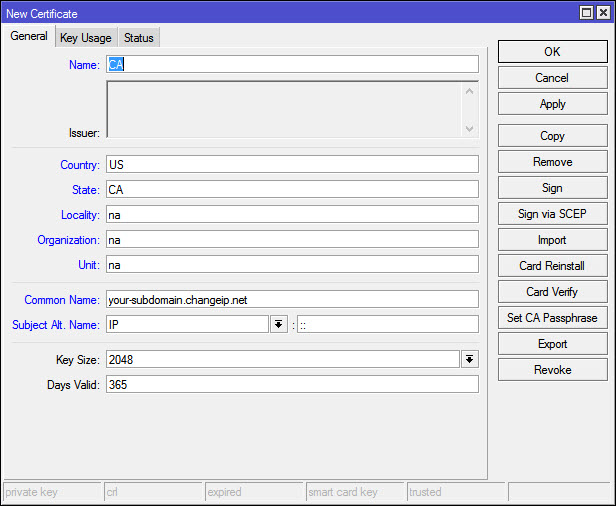
Step 1: Creating the certifcate and CA on the Mikrotik router.
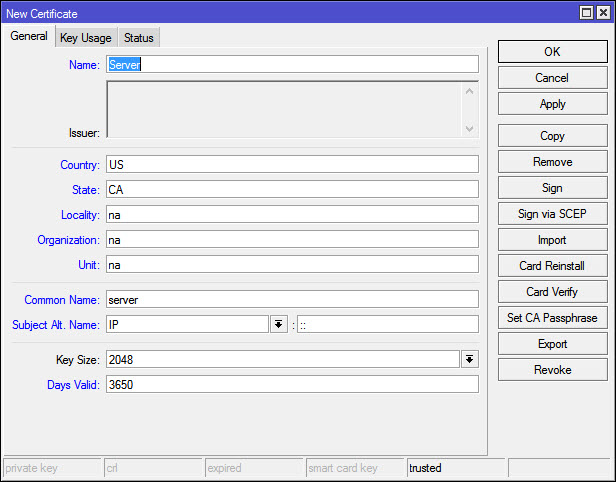
Go to System > Certifcates and start with a new Cert: Fill out the felds, one thing to note is the dynamic dns name I talked about on step 0, the other thing is you want to make the expiration date more than a year on the CA, I simply added a 0 so it is 3650 days, or 10 years.
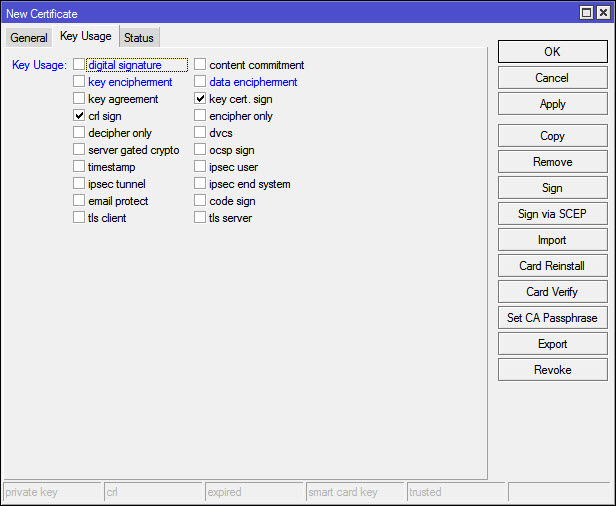
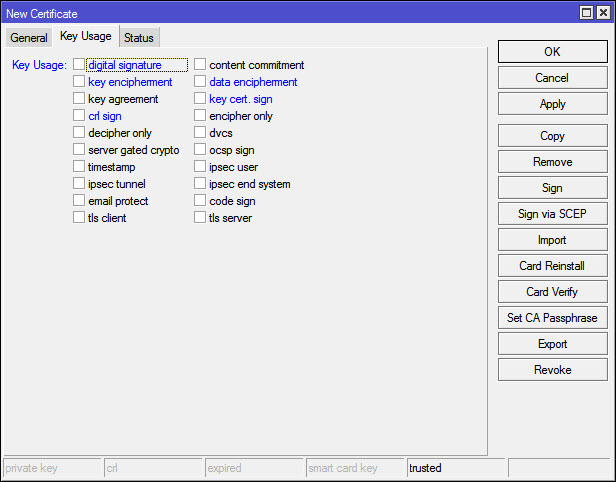
Change the key usage as you won’t need this cert for more than crl and key signing. Click apply when you’re done, then click copy so you won’t have to fill out everything again.
Step 2: Server certificate
If you clicked copy you’ll have pretty much everything pre-filled for the server cert, just change a few things. The CN doesn’t matter on this one for SSTP so you can leave the same as the Name. One thing we need to change on this is the key usage, just remove all the check boxes. Click Apply, then OK, then just in case open the certi_cate one more time and make sure the Key Usage is empty.
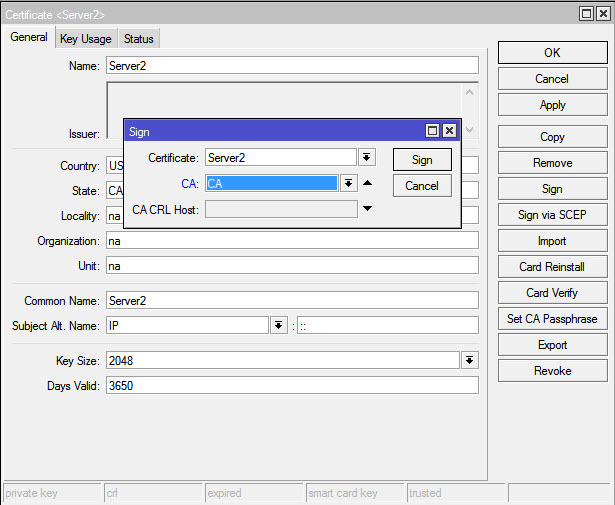
Step 3: Signing you self-signed certifcate for the CA
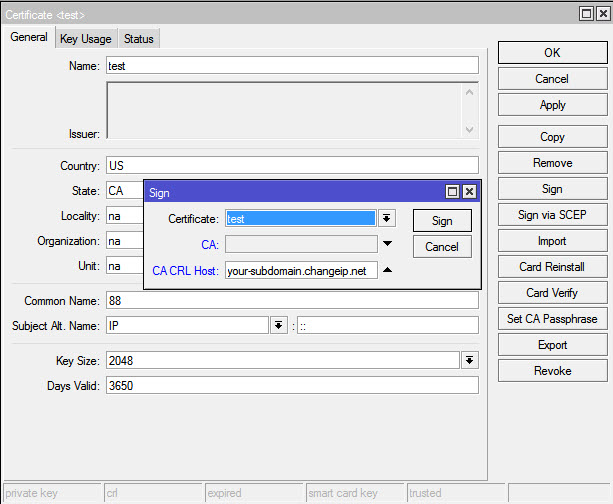
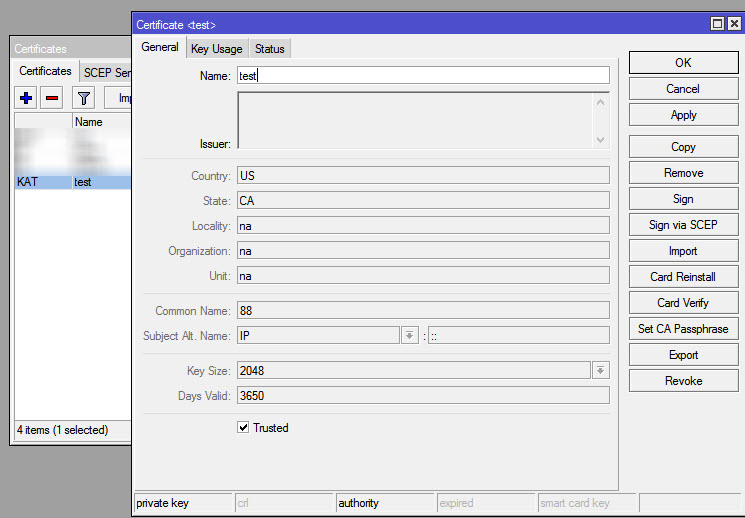
Here you basically self-sign your certifcate, open up the CA certifcate and click Sign on the right. (I just created a new CA named “test” for the purpose of this post, your’s should be named CA or something like that) CA CRL Host is where the Certifcate Revocation List will be, in this case the Mikrotik so we choose the dynamic dns there or public static IP address if you have one. Click Sign, wait a few minutes,a nd now you have the CA self-signed and Trusted (be sure Trusted is selected) At this point you can’t change anything on the CA certi cate and you’ll see on the Certi cates console that displays a KAT (Private Key, Authority, Trusted)
Step 4: Signing you self-signed certifcate for the CA
In this case you’ll use the new CA to sign the server certificate And you’ll the certificate along with KI (Private Key, Issued) That’s pretty much it for the certificates part.
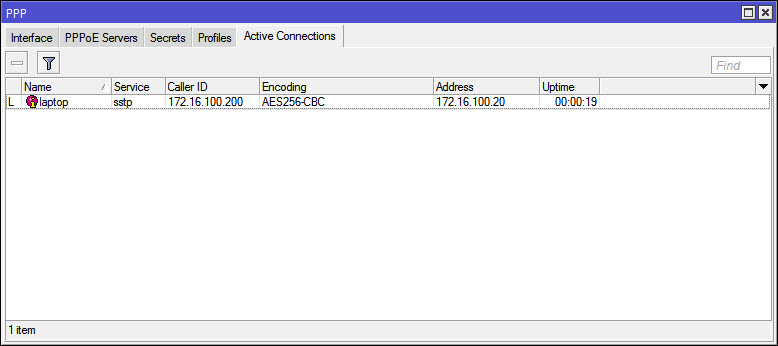
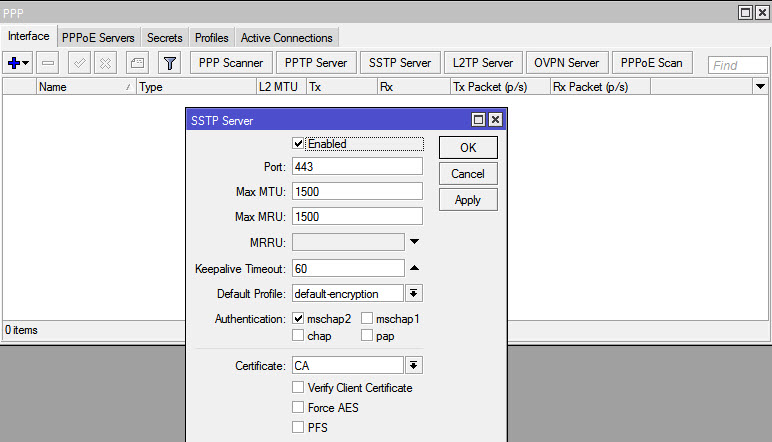
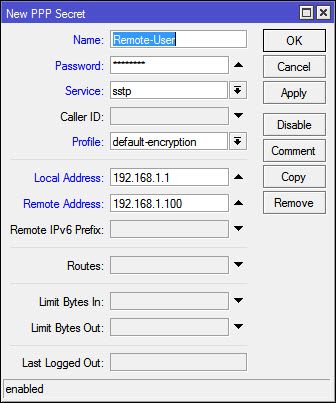
Step 5: Enable SSTP server and create Secret.
Go to PPP and enable the SSTP server, make sure you leave only mschap2 as Authentication method, select your CA as certi cate and un-check the “verify client certi cate” option. then hit OK and move on to Secrets. Create a new Secret for the remote user: Name: your username for the connection Local Address: Local LAN address for your Mikrotik Remote Address: The IP address you want to give to your remote client when they connect vis SSTP. Here you can use di erent pro les, create a DHCP pool, this is just the easy way.
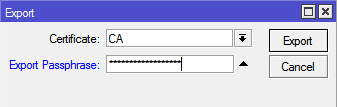
Step 6: Exporting the CA cert and installing it on our Windows 10 client.
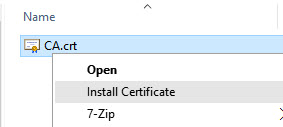
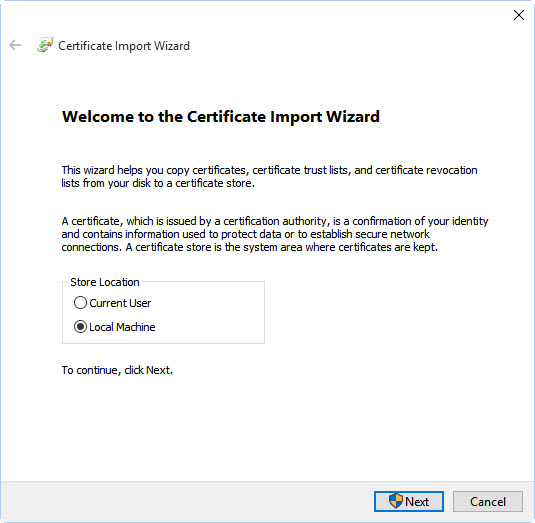
On RouterOS go to System > Certificates one more time, double click the CA cert and click “Export”, remember the password and choose a strong one. Now go to Files and copy the le CA.crt from your Mikrotik to your Windows 10 laptop/PC. Right click on CA.crt and choose Install Certificate Follow the steps and remember the CA need to be trusted by the machine, so the certi cate should be installed on the Trusted Root Certi cate for the Computer Certi cate Store. Now hit Windows + R and run the command certlm.msc, that will open the certi cate store for the Local Machine, double check that the CA certi cate is installed, the name will be whatever you chose on the Certi cate CN and not the Name on Mikrotik, you won’t see “CA” instead you’ll see your-domain.changeip.net or whatever you chose.

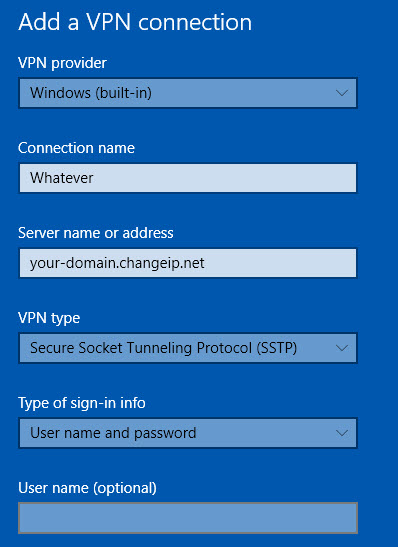
Step 7: Create the STTP connection on Windows 10
We’re almost there, you only need to create the connection now, go to the setting on your Windows 10 > Network & Internet > VPN and Add a VPN Connection and follow the steps. Remember Username & Password is whatever you used on your Secret.